|
|
例程下载:
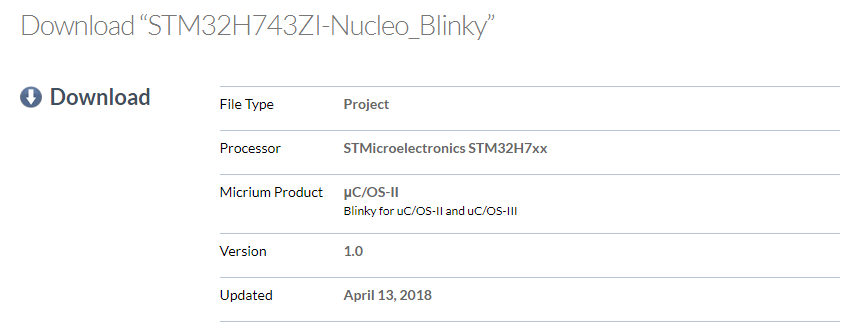
 Micrium_STM32H743ZI-Nucleo_Blinky.zip
(2.15 MB, 下载次数: 284)
支持TrueSTUDIO和IAR,看来Micrium已经跟MDK分道扬镳了。

BLINKY EXAMPLE FOR THE ST STM32H743ZI Nucleo-144, REVISION B
This example project demonstrates how to create a kernel task which blinks an LED.
MICRIUM PRODUCT VERSIONS
- uC/OS-II v2.92.14
- uC/OS-III v3.06.02
- uC/CPU v1.31.02
- uC/LIB v1.38.02
IDE/COMPILER VERSIONS
- IAR/EWARM v8.22.2
- TrueSTUDIO/GNU v9.0.0
HARDWARE SETUP
- Connect USB Micro-B cable to CN1 to provide power.
WORKSPACE LOCATIONS
- ST/STM32H743_Nucleo/Blinky/<OS2|OS3>/IAR/Blinky.eww
- ST/STM32H743_Nucleo/Blinky/<OS2|OS3>/TrueSTUDIO/
USAGE INSTRUCTIONS
IAR
- Open the workspace in IAR.
- Press F7 to build the project and Ctrl+D to start the debug session.
- Once the debug session has started, press F5 to run the example.
- The project creates a task which blinks an LED every 1 second.
- Now modify the call to OSTimeDlyHMSM() in StartupTask() to increase or decrease the frequency at which the LED blinks.
- Build and run again to see the change.
TrueSTUDIO
- Import the workspace in TrueSTUDIO and make sure the "Copy projects into workspace" Options box is UNCHECKED.
- Press 'CTRL + B' to build the project and create a Debug session by selecting the Blinky workspace and pressing F11.
- Once the debug session has started, press F8 to run/resume the example.
- The project creates a task which blinks an LED every 1 second.
- Now modify the call to OSTimeDlyHMSM() in StartupTask() to increase or decrease the frequency at which the LED blinks.
- Build and run again to see the change.
Please feel free to post questions or comments related to this example project at Micrium's forum page:
https://www.micrium.com/forums/t ... -nucleo-144-blinky/ |
|


 发表于 2018-4-16 02:09:57


 楼主
楼主
 发表于 2018-4-16 16:17:01

